
DIY Dog Bone Treats

Six Ridiculously Easy Easter Crafts for Kids
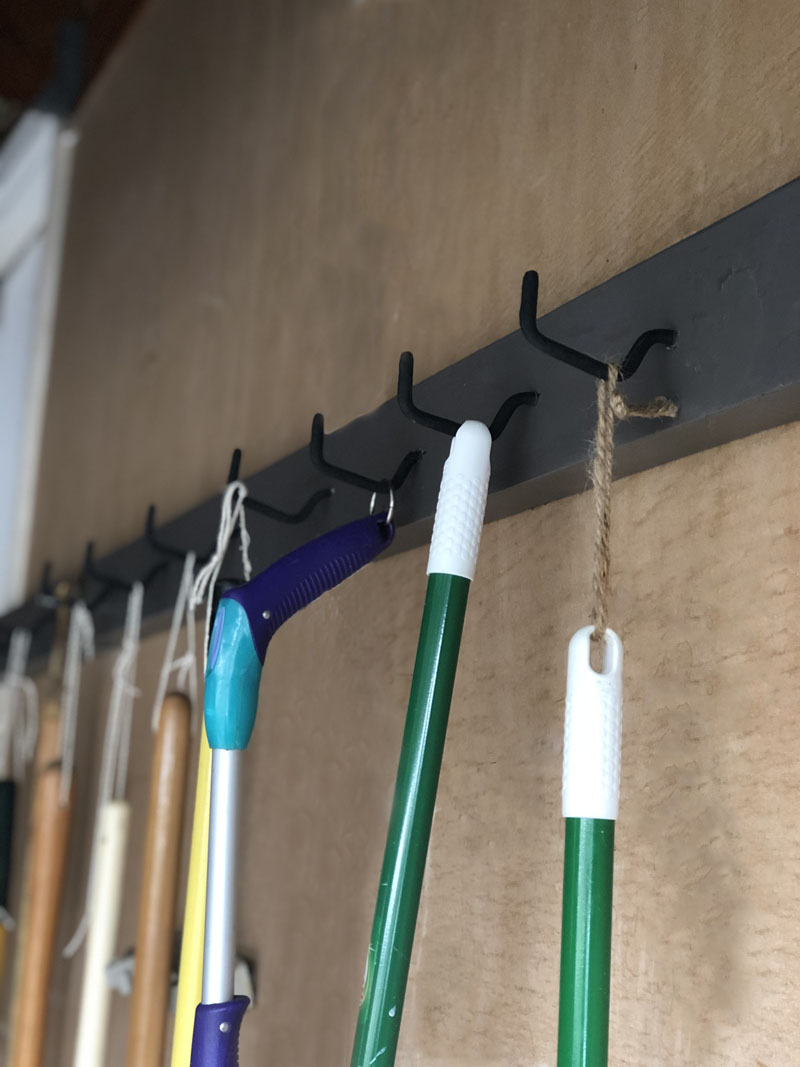
Easy and Cheap DIY Wall Garage Tool Holder
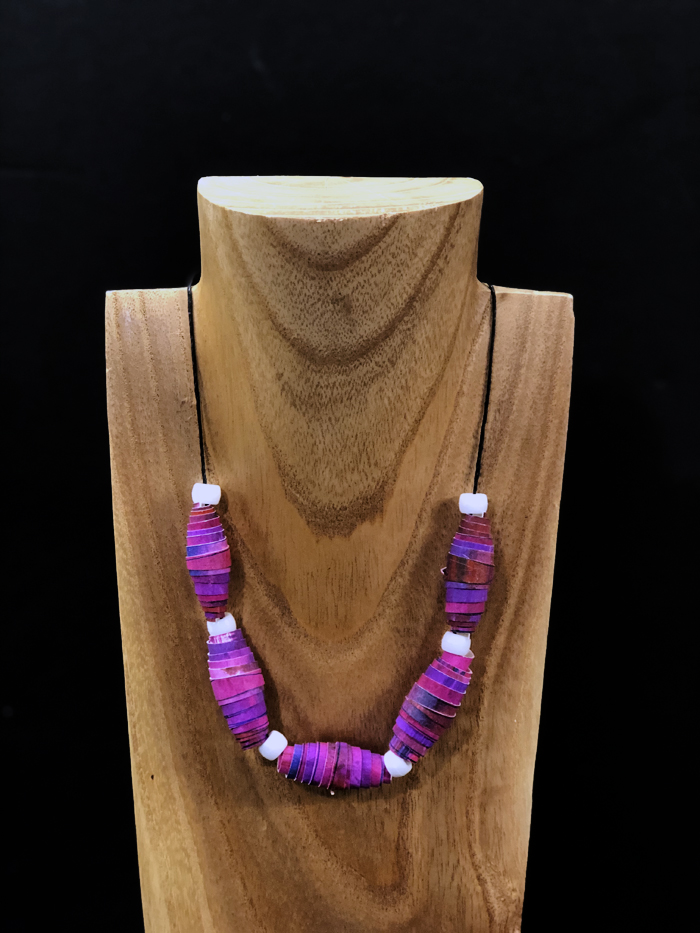
Fun Crafts for Kids: Watercolor Paper Bead Jewelry
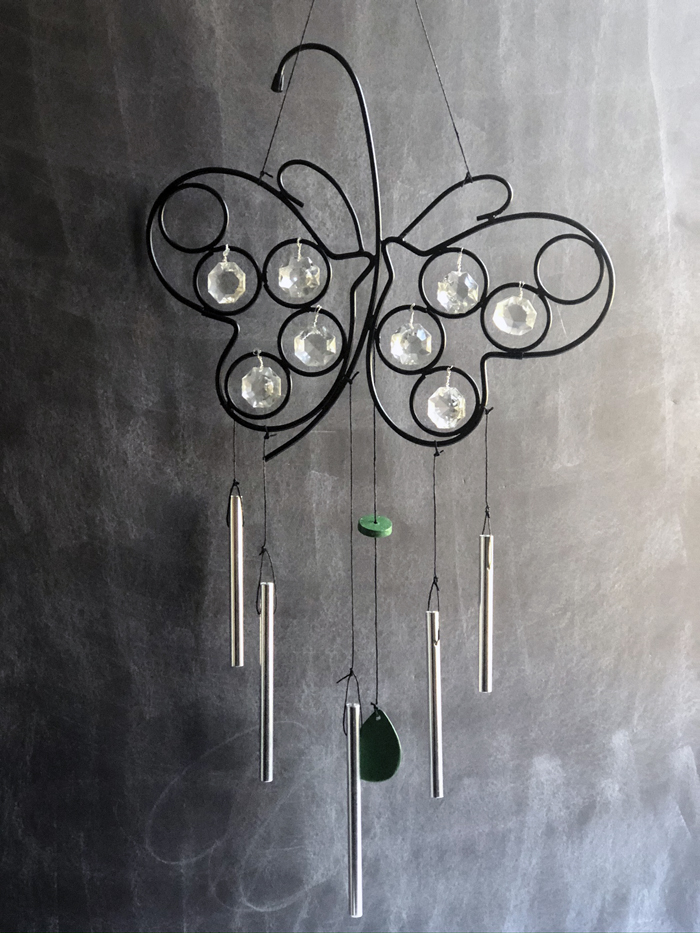
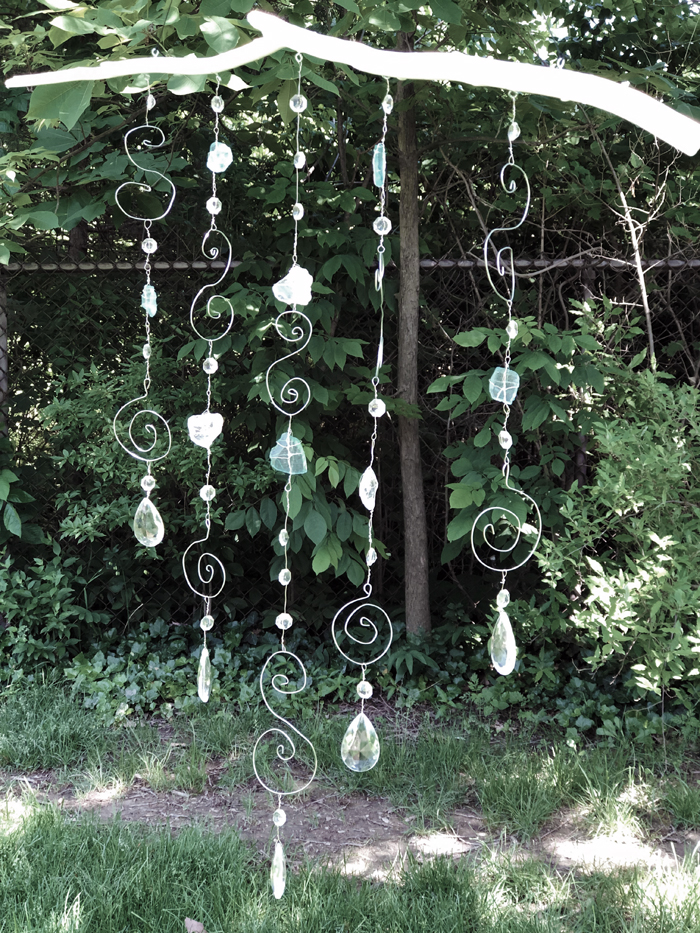
Recycled Butterfly Wind Chimes
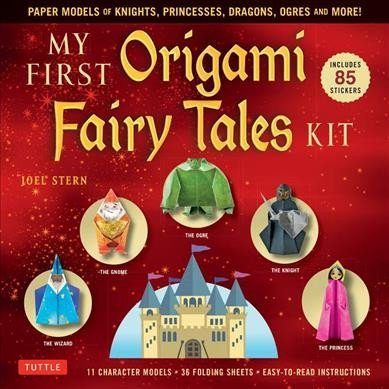
My First Origami Fairy Tales Kit Review

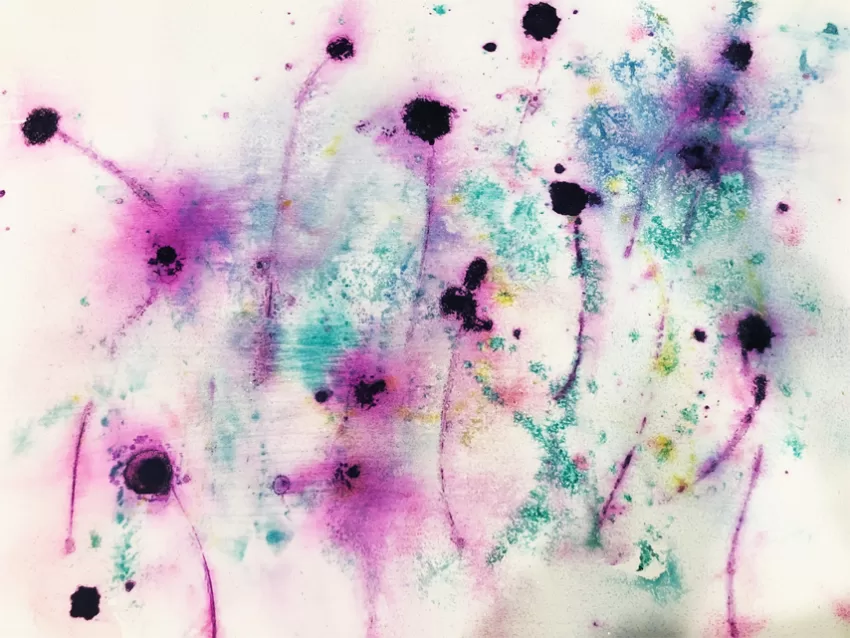
Anyone Can Paint Art With These Three Hacks
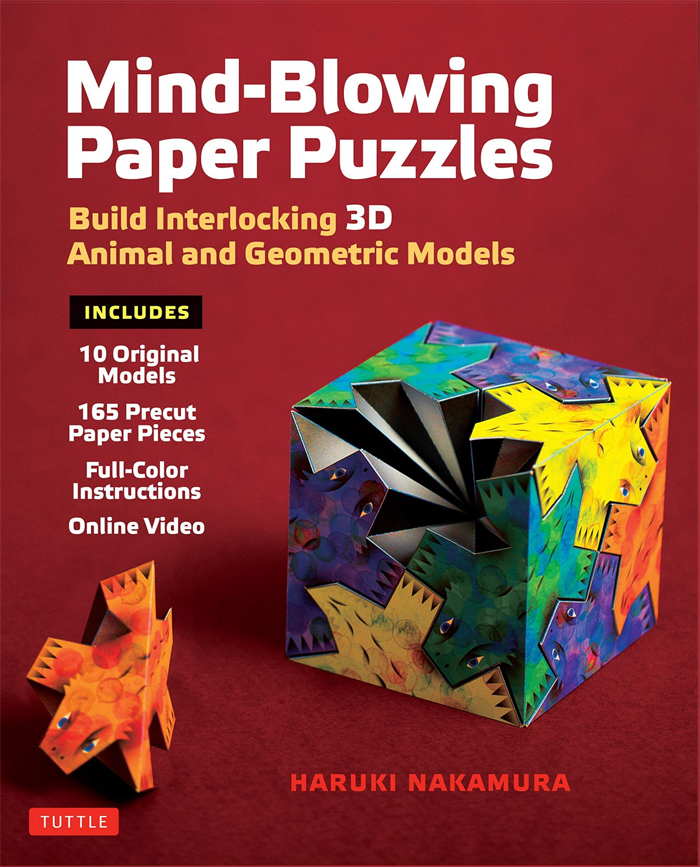
Review of Mind-Blowing Paper Puzzles Kit (3d Paper Crafts)
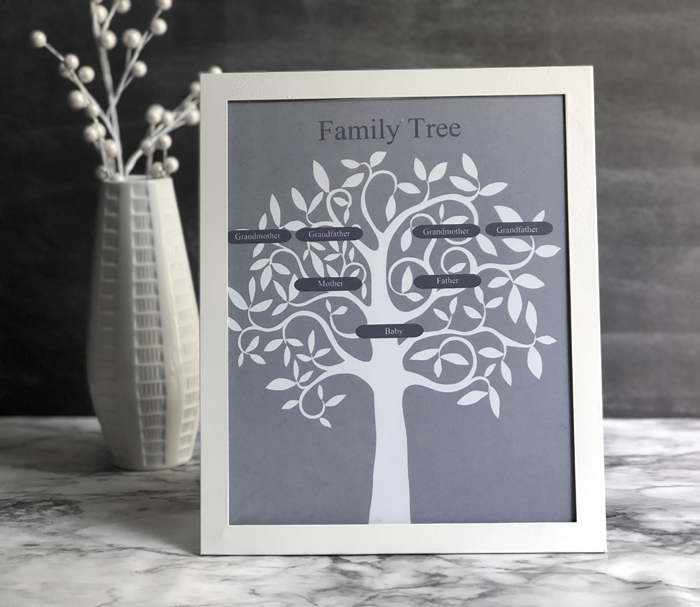
Family Tree Printable for Baby’s Nursery